Connecting to Windows Azure web role instance using Remote Desktop
My last posting about cloud covered new features of Windows Azure. One of the new features available is Remote Desktop access to Windows Azure role instances. In this posting I will show you how to get connected to Windows Azure web role using Remote Desktop.
I suppose you have other deployment settings in place and only Remote Desktop needs configuring. Open publish dialog of your web role project in Visual Studio 2010.
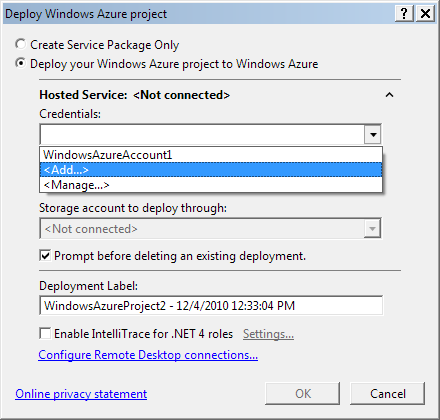
In the bottom part of this dialog you can see the link Configure Remote Desktop connections… Click on it.
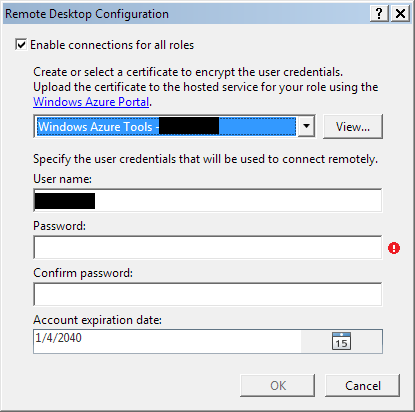
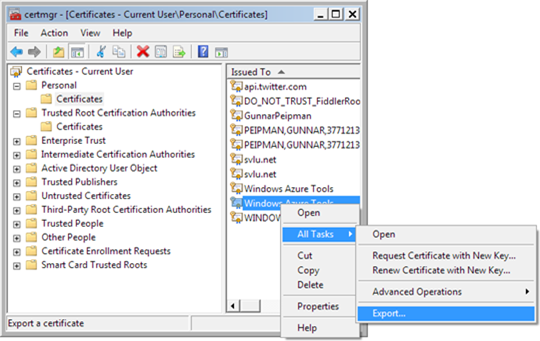
Also Remote Desktop needs certificate. You can create one from dropdown – there is option <Create…> in the end of options list. After creating certificate you have to export it to your file system (Start => Run => certmgr.msc).
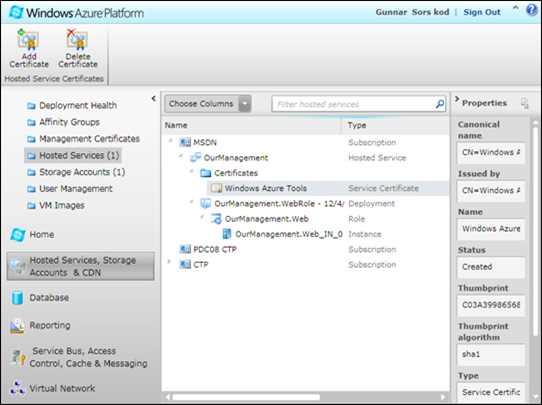
When certificate is exported add it to your hosted service in Windows Azure Portal.
Now fill username and password fields in Remote Desktop settings windows in your Visual Studio and click OK. After deploying your project you can access your web role instance over Remote Desktop. Just click on your instance in Windows Azure Portal and select Connect from toolbar. RDP-file for your web role instance connection will be downloaded and if you open it you can access your web application. For username and password use the same username and password you inserted before.
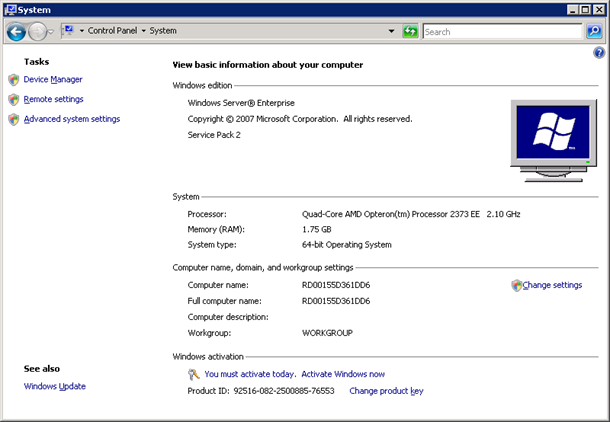
This is System window of my web role instance. You can see that Small instance account provided to MSDN Library subscribers has 2.10 Gz AMD Opteron processor (only one core is for my web app), 1.75 GB RAM and 64bit Windows Server Enterprise Edition.
Using Remote Desktop you can investigate and solve problems when your web application crashes, also you can make other changes to your web role instance. If you have more than one instance you should to same changes to all instances of same web role.




Thanks for the article. Quite useful…
Pingback:Windows Azure: Debug and redeploy your web applications quickly | Gunnar Peipman - Programming Blog