Running ASP.NET Core 5 RC applications on Azure App Service
Although .NET 5 is officially in RC and not yet officially supported on Azure cloud we can still deploy ASP.NET Core web applications built for .NET 5 to Azure App Services. I made my first ASP.NET Core 5.0 deployment to Azure App Service this week. There has been no problems on Azure side and my application is running very stable. Here’s how I did it.
Prerequisites
To try ASP.NET Core on .NET 5 and Azure App Service out you need the following things:
- Visual Studio 2019 Preview
- .NET 5 RC SDK
- Account on Azure Portal
- App Service Plan and one App Service
For testing I strongly recommend to go with clean App Service Plan and App Service to not affect any live systems you have. After you are done with prerequisites it’s time to create test application.
Creating web application
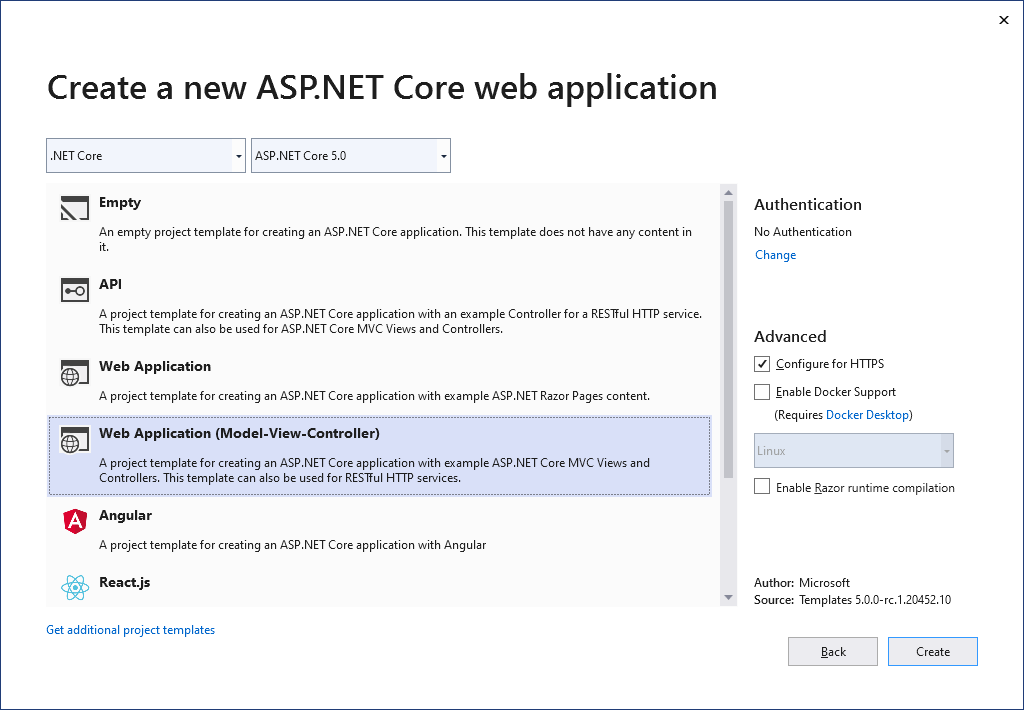
Run Visual Studio 2019 Preview and create new ASP.NET Core Web Application. Here’s the screenshot with settings I used.
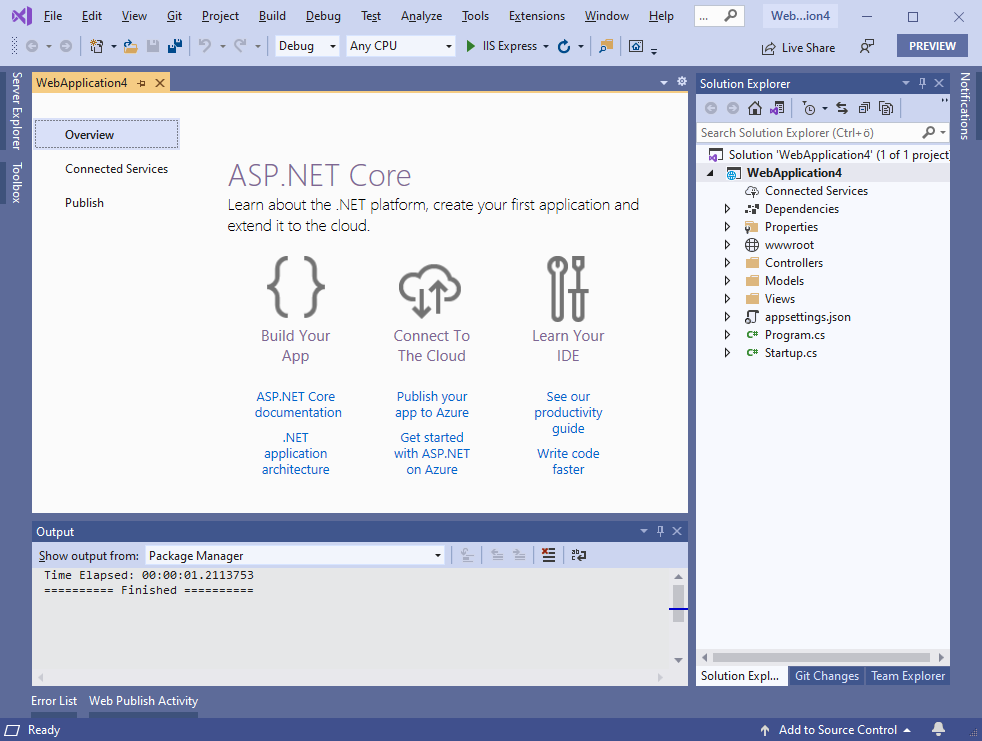
After creating web application you should see classic ASP.NET Core project structure in Visual Studio.
Run your application to make sure there are no issues with Visual Studio 2019 Preview or .NET Core 5. You should see default ASP.NET Core application in your browser.
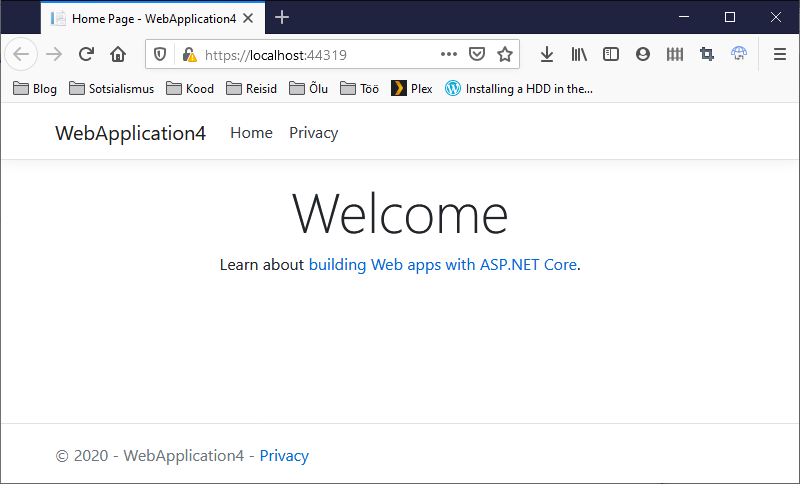
If there were no issues with application and tooling then let’s publish it to Azure cloud.
Publishing ASP.NET Core 5 application to App Service
Right click on your ASP.NET Core 5 project in Visual Studio 2019 Preview and select publish. Follow these steps:
- Select Azure as publishing target and click Next
- Select Azure App Service as specific target and click Next
- From Azure app service instances list select the instance you created and click Finish
Visual Studio creates publishing profile and opens it automatically.
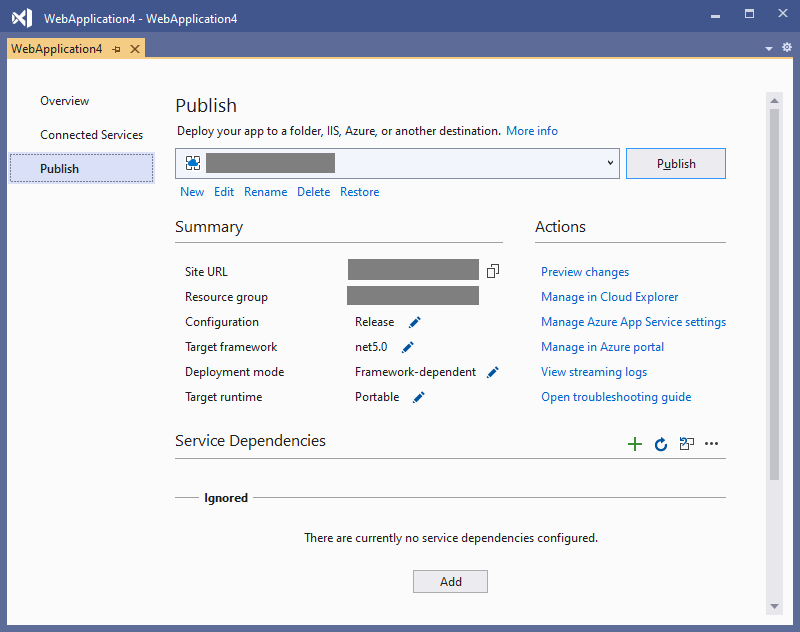
Click on pen icon after Deployment mode field and select Self-contained as deployment mode. By default target runtime is changed to win-x86. You can leave it like it is but you can also switch over to win-x64. Click Save when done. This is how publishing window should look like after these changes.
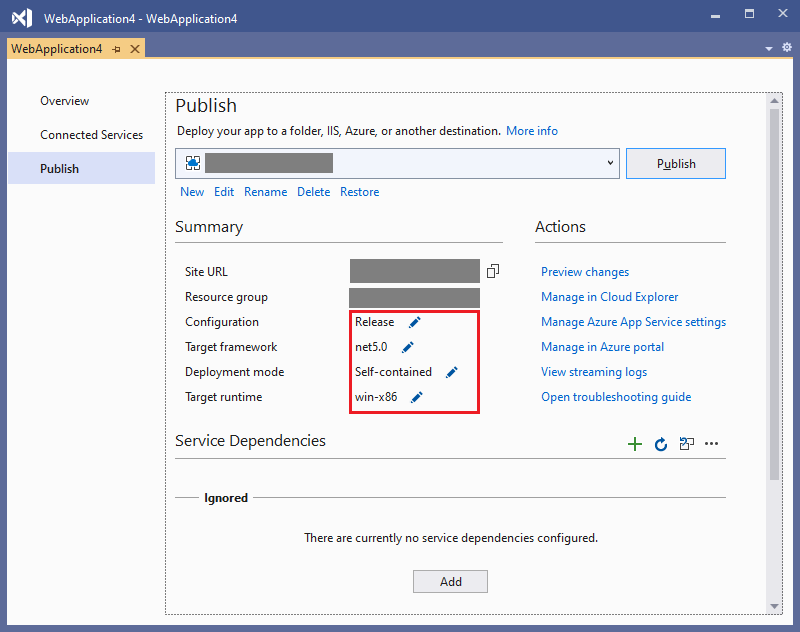
And there’s only one thing left to do – click Publish button. After publishing Visual Studio will automatically open your application in new browser window.
NB! If you once published application to App Service then next times publishing may fail. Sometimes there is error about no permissions to write over your application files. If this error comes then just restart your App Service and try again. Make sure you don’t click anywhere in browser window where your application is opened as it will load libraries again.
References
- Self-contained executable with .NET Core 3.0 on Windows, Linux and Raspberry
- Publishing ASP.NET Core 3.0 application as self-contained executable to Azure App Service




Comments are closed.