Azure DevOps build pipeline for Jekyll
We have Git repository and Azure static website set up. It’s time to connect these two with Jekyll build and release pipelines to automate publishing from our machine to static website. This part of series focuses on Jekyll build pipeline.
Live demo and source are available! Live demo of Jekyll static blog is here: https://jekyll.gunnarpeipman.com. Source code with sample content is available at my Github repository gpeipman/JekyllBlog.
How build pipeline works
For Jekyll experiment I created new project on Azure DevOps and cloned it to my laptop from code repository. When I make commit to master branch then build pipeline is triggered and static blog is built by Jekyll. After successful build the release pipeline takes over and publishes generated files to Azure storage static website.
Build pipeline is actually simple. It’s just a virtual machine running Ruby. Using script commands Jekyll with related tooling is installed and run. If Jekyll build succeeded then _site folder is copied to build pipeline artifacts folder that is accessible for build pipelines.
Creating Jekyll build pipeline definition
I higly recommend you to create build pipeline from YAML-file hosted in repository. It’s easiest and fastest way to get it done. Here is the YAML file I’m using. Make sure you have it in your repository root before setting up Jekyll build pipeline.
# Ruby
# Package your Ruby project.
# Add steps that install rails, analyze code, save build artifacts, deploy, and more:
# https://docs.microsoft.com/azure/devops/pipelines/languages/ruby

trigger:
- master

pool:
  vmImage: 'ubuntu-latest'

steps:
- task: UseRubyVersion@0
  inputs:
    versionSpec: '>= 2.5'

- script: |
    gem install jekyll bundler
    bundle install --retry=3 --jobs=4
  displayName: 'bundle install'

- script: |
    bundle install
    jekyll build
  displayName: 'jekyll'

- task: CopyFiles@2
  displayName: 'Copy Files to: $(Build.ArtifactStagingDirectory)'
  inputs:
    SourceFolder: '_site'
    TargetFolder: '$(Build.ArtifactStagingDirectory)'

- task: PublishBuildArtifacts@1
  inputs:
    pathtoPublish: '$(Build.ArtifactStagingDirectory)'
    artifactName: site
Setting up Jekyll build pipeline
Here is step by step guide for setting up build pipeline. We start with creating new build pipeline.
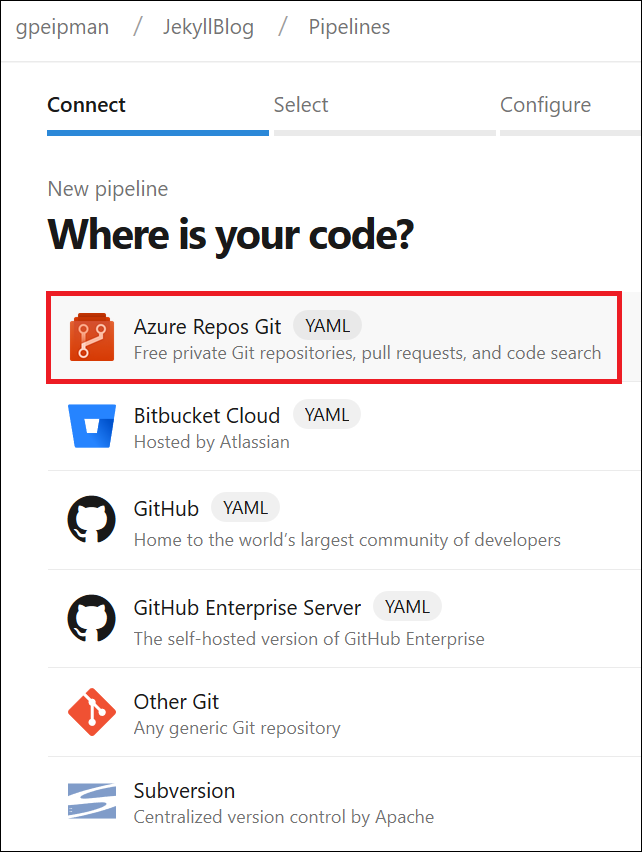
- First step is creating connection with source code repository service. Although I’m using Azure DevOps repositories, it’s not the only Git service that is supported.
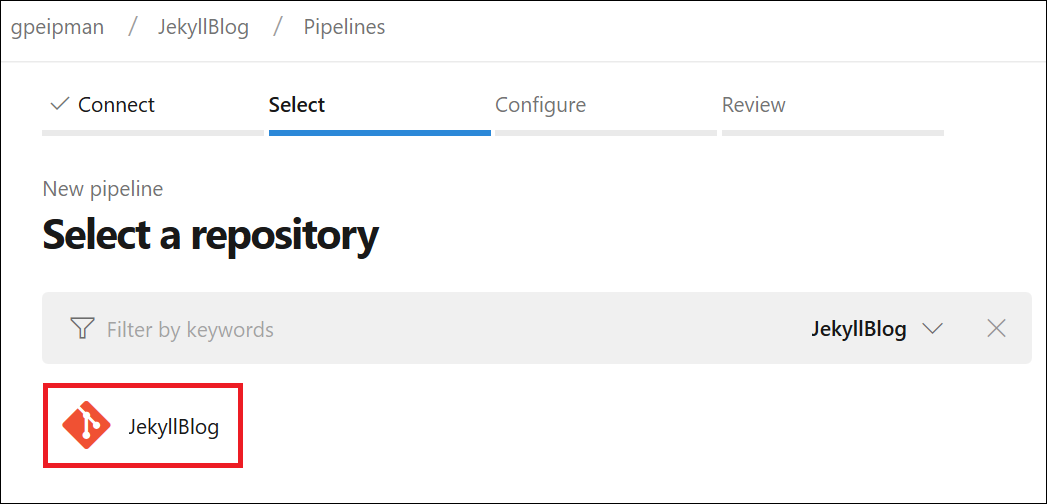
- From source code repository service we must check repository that Jekyll build pipeline listens for changes.

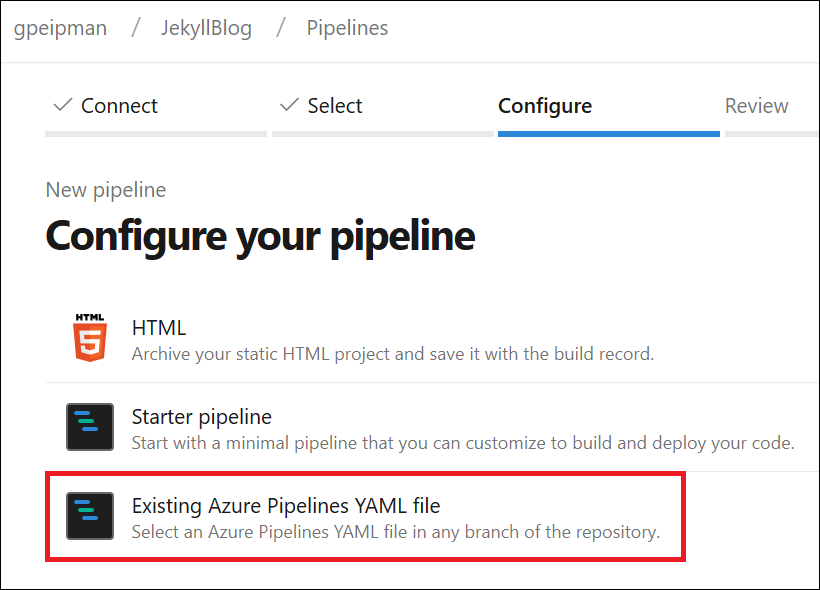
- In our case build configuration comes from YAML-file in repository.

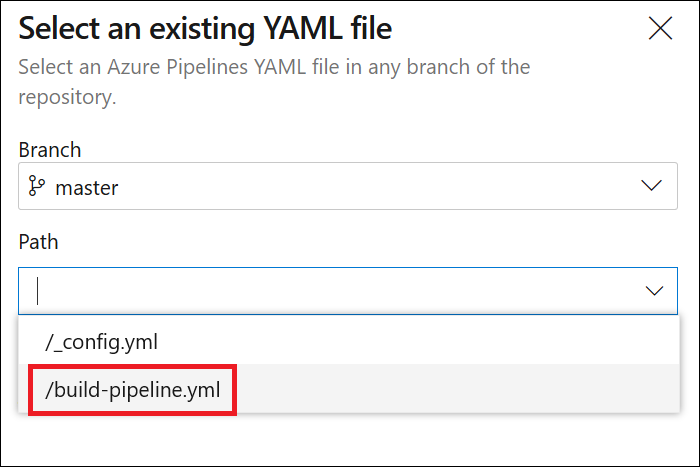
- Now we have to specify branch and select build definition file. Notice that build from master branch is not the only option. If you use some other logic in your repository then you can choose your build branch instead of master.
- Review settings and if everything is okay then run the build pipeline.
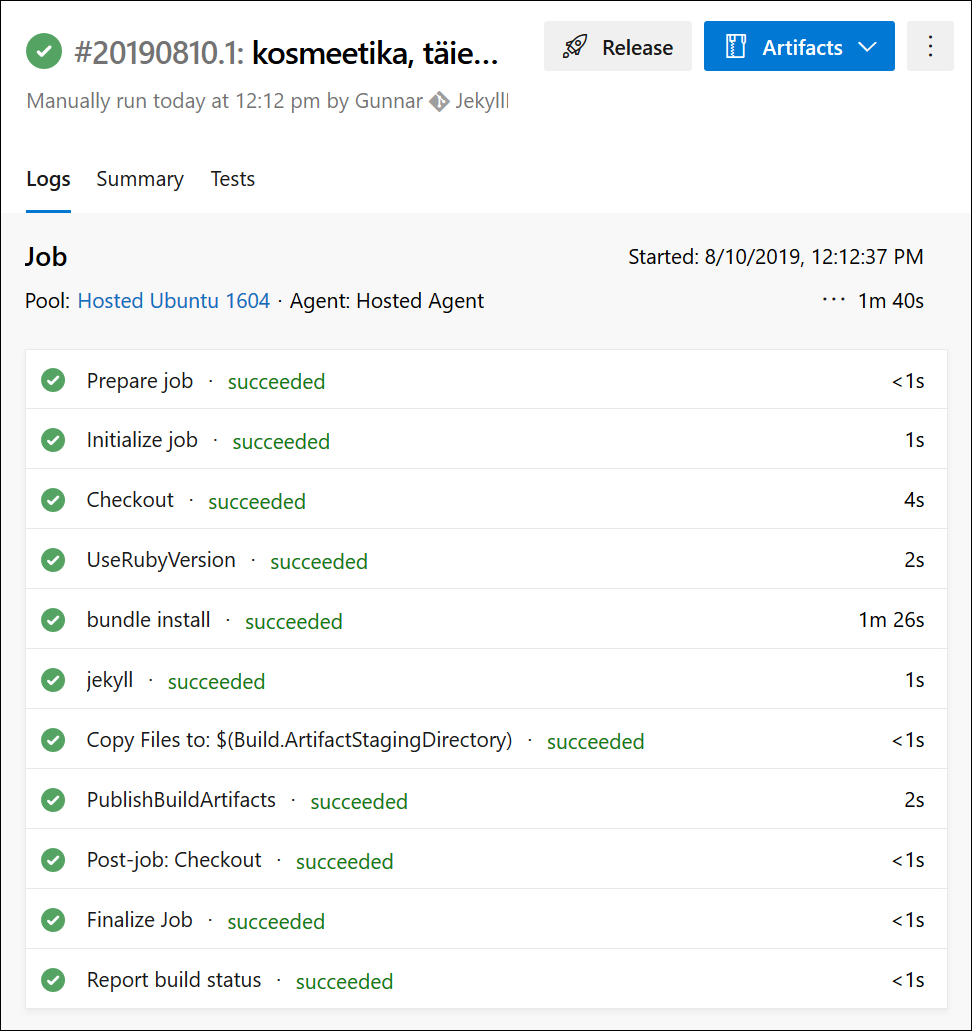
If running succeeded then you should see the following build report with all steps being green.
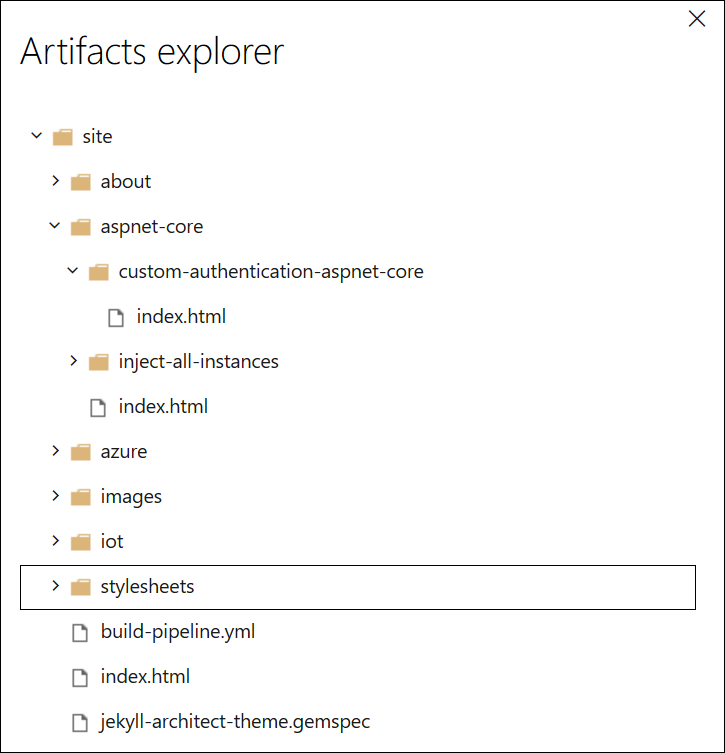
Click on Artifacts button to see if there is artifact called “site” and open it. If everything went okay you should see file tree like shown on the following image.
Our Jekyll build pipeline is ready and it works.
Trying out publishing results. You can download build artifacts and upload these to Azure static website using Azure Storage Explorer to see how blog looks after building on cloud. You can access static website using its primary URL (it’s on static website settings page).
Wrapping up
It’s actually easy to create Azure DevOps build pipeline using YAML definition. We had to add few commands to get Jekyll installed and site built on build server. After successful build our static site is waiting in build artifacts folder. We can now write new blog post, push it to code repository and Jekyll build pipeline activates automatically.



thank you for sharing the knowledge
However I’ve just found that jekyll step fails to be executed today. This is strange since yesterday it has worked like a charm. I’m using the code you have shown with ubuntu latest image.
The error is
You have already activated jekyll-sass-converter 2.0.1, but your Gemfile requires jekyll-sass-converter 2.0.0. Prepending `bundle exec` to your command may solve this
I’ve found that with “bundle exec” before “jekyll build” it works fine (as described https://github.com/jekyll/jekyll/issues/6227) like below
– script: |
bundle install
bundle exec jekyll build
displayName: ‘jekyll’
Thanks for comment! I’m sure it will help somebody out.
Hello Gunnar
I have been using a similar build and deployment for my blog site. Windows Hosted though.
Recently the version of Ruby available went from 3.1.4 to 3.1.5
This has broken the build step. It can’t load one file that has been generated. It is there.
I have created an issue on StackOverflow at
https://stackoverflow.com/questions/78566372/azure-devops-jekyll-site-build-fails-worked-previously.
Any ideas on this? Thx.
PS Are you still an MVP? And I am visiting Estonia in Tallinn this month, from Australia!